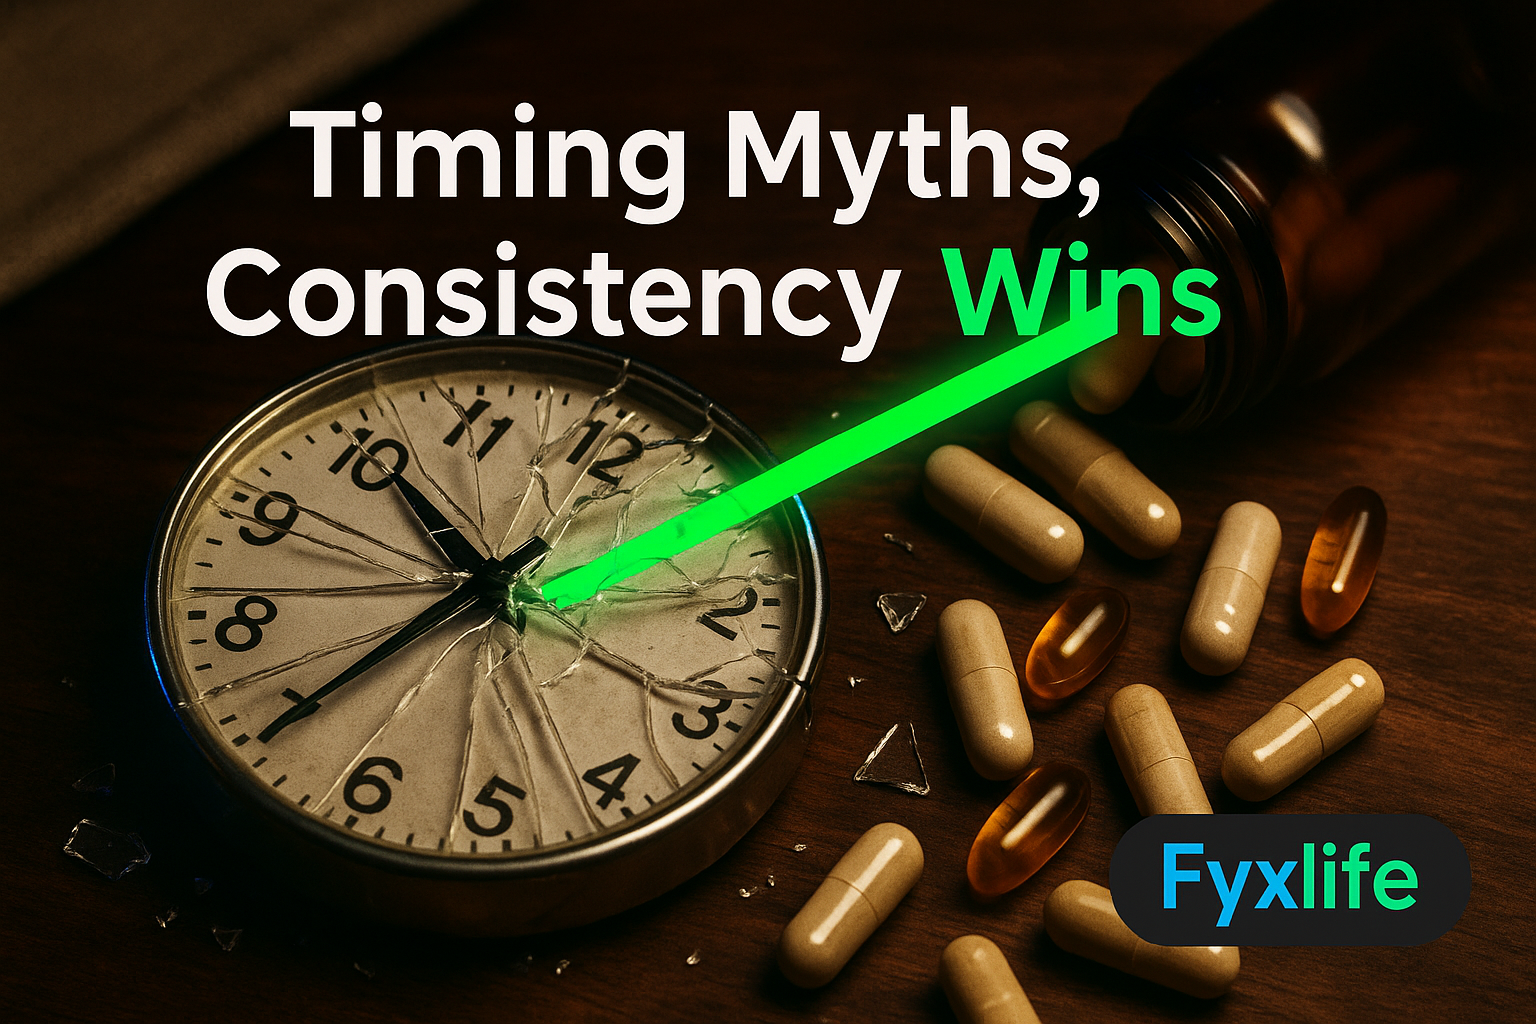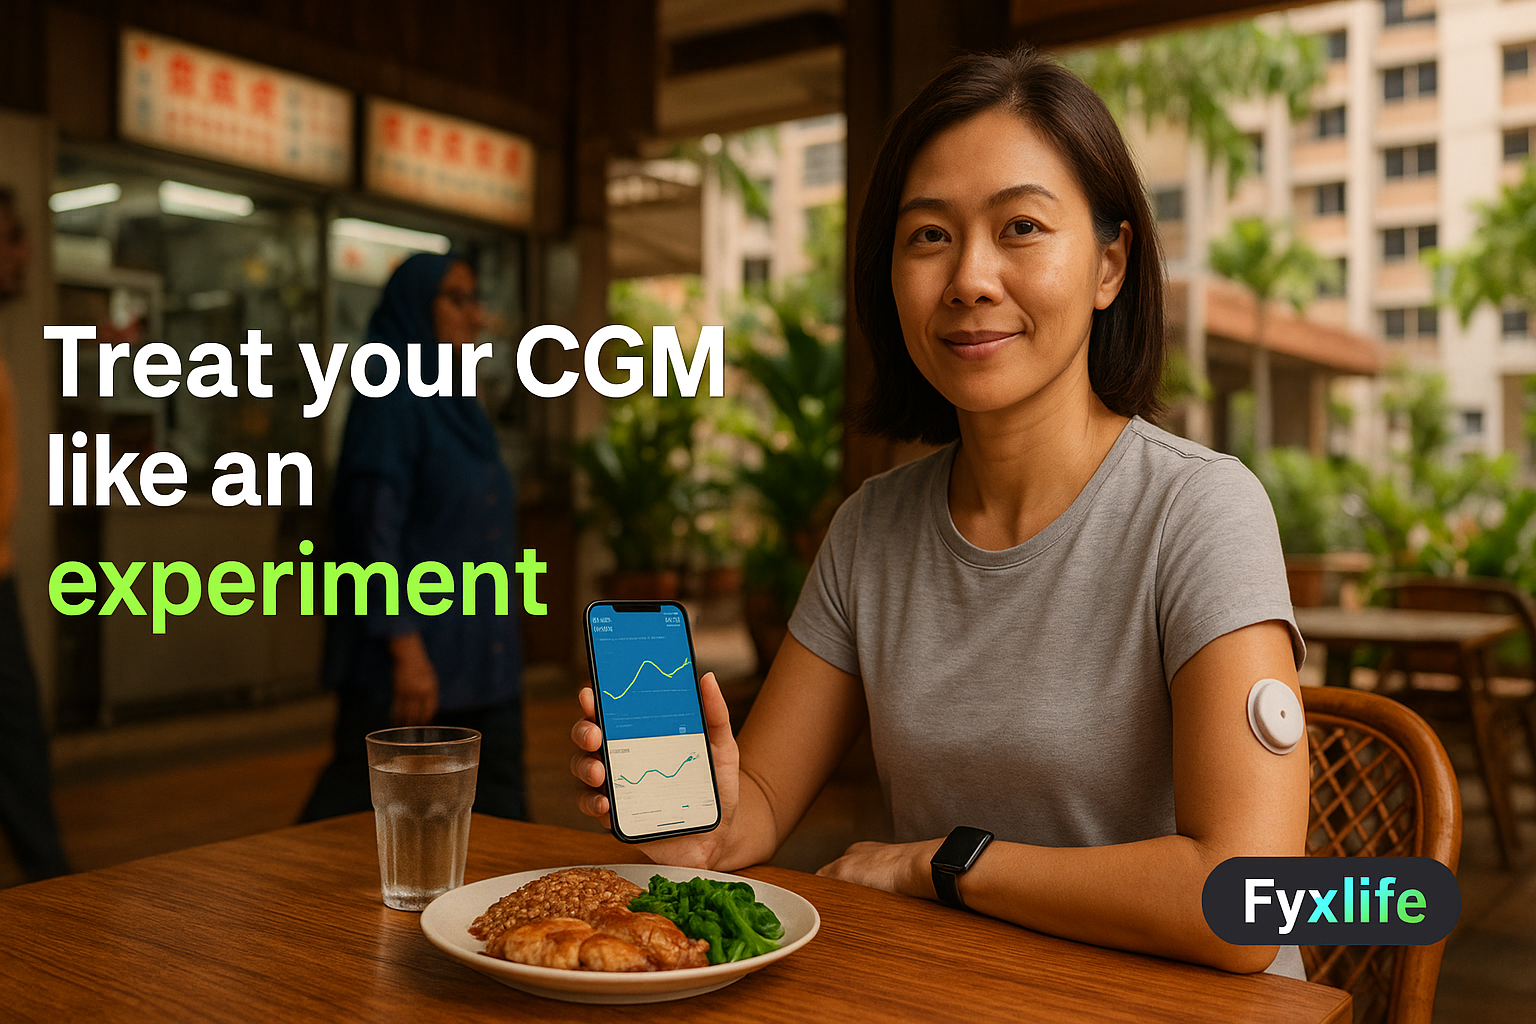
You’ve heard that people without diabetes are strapping glucose sensors to their arms to hack their metabolism — and you’re not sure if it’s genius or just expensive noise. Here’s the honest answer: a CGM can give you genuinely useful data, but only if you run it like an experiment, not a lifestyle accessory. This protocol tells you exactly what to do, in what order, and — critically — what not to do.
The appeal is understandable. You eat what you think is a reasonable meal, feel inexplicably sluggish an hour later, and wonder what’s actually happening inside your body. A continuous glucose monitor promises to answer that question in real time. But the difference between getting a genuinely useful answer and spending two weeks staring at confusing squiggly lines comes down almost entirely to how you run the experiment.
Before You Buy: Is This Protocol Actually For You?
The case for a CGM trial in a non-diabetic adult
Think of a CGM like a dashcam for your metabolism. It records everything in real time — the smooth highway stretches and the sudden braking moments — but it cannot tell you whether a particular piece of road is dangerous unless you compare the footage to a map. The readings are only meaningful when you know what triggered them, and one bad clip doesn’t mean the whole journey is unsafe.
With that framing in mind, the strongest candidates for a CGM trial are adults who already have some signal that their glucose metabolism deserves attention. That means you’ve had a fasting glucose reading that nudged toward the higher end of normal, you have a family history of type 2 diabetes, you carry weight predominantly around your abdomen, or you’re experiencing energy crashes, persistent fatigue, or strong post-meal hunger that doesn’t match what you’re eating. CGMs are now being adopted by non-diabetic individuals as a metabolic health optimisation tool, and in these higher-signal individuals, a two-week trial has a realistic chance of surfacing information you couldn’t otherwise access.
There’s also a cognitive load argument. One consistent insight from people who have used CGMs is that knowing what a food actually does to your glucose — rather than guessing — reduces the mental overhead around eating decisions. That is not a trivial benefit, even if it never shows up in a clinical trial.
Who should skip the CGM and run labs instead
If your fasting glucose and HbA1c — the longer-term marker of average blood sugar over roughly three months — are solidly normal and you have no relevant symptoms or risk factors, a CGM is likely to generate anxiety-inducing noise rather than actionable signal. You’ll see glucose rise after meals because glucose is supposed to rise after meals. You’ll see variation because variation is normal. You’ll spend two weeks and SGD 100–200 interpreting data that, at your baseline, doesn’t need interpreting.
For that group, annual labs are the smarter protocol. Save the CGM for a moment when you have a specific question that labs alone can’t answer.
How a CGM Works (and Where It Can Fool You)
Interstitial glucose vs blood glucose — the 5-minute lag explained
Continuous glucose monitors do not measure glucose in your blood directly. They measure glucose in the fluid sitting between your cells — the interstitial fluid — and then translate that reading to an estimated blood glucose value. CGMs measure glucose levels in interstitial fluid, not directly in blood, and update the reading display every 5 minutes, which means there is an inherent time lag between what is happening in your bloodstream and what your sensor reports.
In practice, this means that when your blood glucose rises sharply after eating, your CGM will show that rise approximately 5 minutes later. When it falls, the same lag applies. This doesn’t invalidate the data — but it matters enormously when you’re trying to pin a specific reading to a specific food, especially fast-digesting meals where the glucose curve moves quickly. If you eat white rice and look at your reading 10 minutes later, you’re seeing what happened before you finished eating, not after.
FDA accuracy standards and what borderline readings really mean
CGMs are medical devices, and they have accuracy requirements. The FDA has adopted minimum accuracy requirements for CGMs: for all readings in the 70–180 mg/dL range, devices must meet specified error tolerances — but crucially, borderline readings near threshold values carry more uncertainty than mid-range readings. A reading of 7.8 mmol/L (140 mg/dL) sitting right at the commonly cited post-meal target boundary is not the same quality of data as a reading clearly above or clearly below it. Treat threshold readings as approximate, not definitive.
Step 1 — Choose Your Device and Set It Up Correctly
Device options available without a prescription
In Singapore and much of Southeast Asia, the two most accessible CGM options for non-diabetic users are the Abbott FreeStyle Libre and the Dexcom G7, though availability and prescription requirements vary by country. The FreeStyle Libre series — particularly the Libre 2 and Libre 3 — is typically more accessible and lower cost for a short trial. There are currently no FDA-approved non-invasive continuous glucose monitors on the market — all currently approved devices require a small sensor filament inserted just under the skin. The insertion is quick, largely painless, and the filament itself is a thin flexible wire, not a needle that remains in place.
For a 14-day protocol, one sensor is sufficient. Buy one before committing to a subscription or multi-pack. If the first sensor gives you clean, useful data, you can decide whether a second trial — testing a different variable — is worth the cost.
Sensor placement, skin prep, and avoiding the most common setup errors
Skin and adhesive issues are a documented practical challenge with CGM use, representing one of the most common failure points affecting sensor accuracy and wearability. The standard placement is the back of the upper arm — specifically the soft, less muscular area on the posterior surface. Avoid placing the sensor on skin that has visible veins close to the surface, areas you sleep on directly, or anywhere with significant hair density, as these all increase the chance of poor adhesion or compression artifacts during sleep.
Before applying the sensor, clean the skin with an alcohol wipe and allow it to dry completely — at least 30 seconds. Damp or oily skin is the single most common cause of early sensor detachment. Apply gentle pressure over the entire sensor surface after insertion and hold for 15 seconds. Sensor warm-up periods vary by device but are typically one to two hours — do not take readings during this window. They will not be accurate, and starting your protocol on inaccurate data undermines everything that follows.
Step 2 — Run a Structured 14-Day Experiment, Not a Passive Observation
Week 1: Baseline — eat normally, log everything, change nothing
The single biggest mistake people make with a first CGM is immediately changing what they eat to try to improve their readings. Don’t. Week 1 is your baseline. Eat exactly the way you normally eat. Keep your existing exercise pattern. Sleep at your usual hours. The point is to understand what your metabolism is actually doing, not what it does when you’re performing for a sensor.
The ability to observe trends in glucose concentration is one of the key advantages CGMs offer — but trends are meaningless without a baseline to compare them against. You cannot know whether your white rice at lunch is causing a problem if you don’t know what your normal post-meal profile looks like across a full week.
Week 2: One variable at a time — test meals, exercise timing, sleep, and stress
Week 2 is where you start asking specific questions. The critical rule is one variable at a time. If you change your breakfast and start walking after lunch on the same day, you will not be able to attribute any difference in your readings to either change. Test in sequence: eat your usual breakfast for two days, then swap one component and observe for two days. Add a 10-minute walk after your most glucose-spiking meal and see whether it changes your return-to-baseline speed. Observe how a night of poor sleep — even one night — shifts your glucose tolerance the following morning. Each of these is a legitimate experiment. All of them simultaneously is noise.
The log template: what to record alongside your glucose readings
Your CGM app will capture the glucose data automatically. What it will not capture — and what makes the data interpretable — is context. For every meal, record what you ate, the approximate portion size, and the time. For every exercise session, record type, duration, and time relative to your last meal. For sleep, note bedtime, wake time, and a rough quality rating. For stress, note any high-stress events or days. This does not need to be elaborate. A note on your phone at meal times takes 20 seconds. Without it, you are watching dashcam footage with no GPS overlay.
Step 3 — Read Your Data Without Catastrophising
What a normal post-meal glucose curve looks like in a healthy adult
In a metabolically healthy adult, blood glucose typically begins rising within 15–30 minutes of starting a meal, peaks somewhere between 60 and 90 minutes after eating, and returns to baseline within two to three hours. The peak value is not a fixed alarm threshold — it depends on what you ate, how much, in what combination, and what your pre-meal level was. A peak of 8.5 mmol/L (153 mg/dL) after a large mixed meal is different from the same peak after a small snack. Context matters more than the number alone.
The difference between a spike worth acting on and normal variation
CGMs provide the ability to observe trends in blood glucose concentration and to intervene before values reach clinically problematic levels — but the operative word is clinically. A glucose excursion that rises and returns to baseline cleanly within two hours is your body doing exactly what it should. What is worth investigating is a pattern: consistently high peaks above 10 mmol/L (180 mg/dL), readings that stay elevated well beyond the two-hour mark, or pre-meal readings that are creeping upward across the week rather than holding steady.
Metrics that matter: time in range, peak height, return-to-baseline speed
A Diabetes Technology Society expert consensus panel developed standardised metrics for CGM research use, underscoring that raw numbers without defined benchmarks are insufficient for drawing meaningful conclusions. The three metrics worth tracking as a non-diabetic user are: the percentage of time your glucose spends in the 3.9–7.8 mmol/L range (your time in range), the peak height of your post-meal response, and how quickly your glucose returns to your personal baseline after a meal. Together, these three tell you more than any single reading ever could.
What NOT To Do (The Protocol Violations That Waste Your Money)
Don’t chase a flat line — why some glucose rise after eating is normal and expected
This is the most common mistake, and it leads people to restrict their diet in ways that have no clinical justification. Glucose rising after meals is not a problem. It is a feature. Your digestive system breaks food down into glucose, your pancreas releases insulin to move that glucose into cells, and the reading drops back down. That process is working correctly when you see a rise followed by a clean return to baseline. Trying to prevent any post-meal rise — by eliminating all carbohydrates, for instance — is not optimising your metabolism. It is misreading the footage.
Don’t make dietary overhauls based on a single sensor reading
One high reading after one meal on one day is one data point. It might reflect what you ate. It might reflect that you had poor sleep the night before, which is known to impair glucose tolerance. It might reflect a sensor compression artifact from sleeping on your arm. Established protocols and clinical guidelines are recommended for CGM use even in hospital settings — precisely because raw data without a structured interpretation framework is insufficient for decision-making. The same principle applies in your kitchen. Patterns across multiple days are evidence. A single outlier is a hypothesis at best.
Don’t skip calibration checks or ignore sensor warm-up periods
Some CGM devices allow or recommend fingerprick blood glucose calibration checks, particularly if a reading seems inconsistent with how you feel. Use them. If your sensor reads 9.2 mmol/L but you have no symptoms and your prior readings have been consistently normal, that is a moment to cross-check — not to immediately overhaul your diet. Similarly, never record data from the sensor’s warm-up window. The chemistry of the sensor filament is not yet equilibrated, and those early readings can be significantly off in either direction.
After the 14 Days — Turning Data Into a Doctor Conversation
How to export your data and what to ask your GP or endocrinologist
Both the FreeStyle Libre and Dexcom platforms allow you to export a PDF or CSV summary of your CGM data. Do this before your appointment and bring it. The summary report includes your time in range, average glucose, and a graph of patterns across the two weeks. This is what transforms a consumer health experiment into a clinically useful conversation. The specific questions worth raising are whether your patterns suggest impaired glucose tolerance (the medical term for the pre-diabetes range), whether your post-meal peaks warrant further investigation, and whether a fasting insulin level should be added to your next blood draw.
This is precisely where the standard annual health screening falls short — not because your GP isn’t competent, but because a routine check-up is designed to screen populations, not to interrogate two weeks of personal metabolic data. A 10-minute appointment built around population-level reference ranges was never designed to answer “what does this specific glucose curve pattern mean for my risk profile.” Knowing that limitation in advance lets you seek the right kind of follow-up.
The one follow-up lab test that validates or contextualises your CGM findings
If your CGM trial surfaces anything that concerns you — consistently high post-meal peaks, slow return to baseline, elevated fasting readings — the single most useful follow-up test is a fasting insulin level, combined with your fasting glucose. From these two numbers, you can calculate your degree of insulin resistance (the technical term is HOMA-IR, which stands for Homeostatic Model Assessment of Insulin Resistance). This is the biomarker that bridges what your CGM showed you and what your doctor can actually act on. HbA1c alone, which measures average blood glucose over approximately three months, will not catch early insulin resistance in someone whose glucose is still technically normal — but whose insulin is working much harder than it should be to keep it that way.
The Honest Verdict: When to Repeat, When to Stop, When It’s Enough
A single 14-day CGM trial, run with a structured protocol and a contextual log, is enough to answer most of the questions a non-diabetic adult is actually trying to answer. You will know whether your post-meal responses are broadly normal, whether any specific foods or habits are producing outlier responses, and whether your data warrants a deeper clinical conversation. That is a lot of signal for two weeks of mild inconvenience and a modest spend.
When is a second trial worth it? When you’ve made a meaningful change — a significant dietary shift, a new exercise protocol, meaningful weight loss — and you want to see whether your glucose patterns have shifted. Not out of anxiety, but out of genuine curiosity with a specific hypothesis. That is science. That is the dashcam earning its keep.
When should you stop entirely? When the data is confirming what your labs already show — that your metabolic health is solid — and the monitoring is adding cognitive load rather than reducing it. A tool that makes you anxious about normal physiology is not optimising your health. It is undermining it. The goal was always better information. If you have it, you’re done.
Before buying a CGM, get a fasting glucose and HbA1c test done first — either through your GP or a private lab in Singapore for under SGD 50. If your fasting glucose is between 5.6–6.9 mmol/L or your HbA1c is 5.7–6.4%, you are in the range where a structured CGM trial is most likely to give you actionable data rather than reassuring noise. If both are solidly normal, decide whether the SGD 100–200 sensor cost is worth two weeks of curiosity — or whether repeating these labs annually is the smarter spend.